Setup Channable in Magento 2 via FTP
On this page, you will learn how to install and configure the Channable extension for Magento 2 using FTP and SSH. This guide will provide you with detailed steps to ensure that your installation is successful and that the extension functions as intended.
We will cover the prerequisites for installation, the necessary commands for FTP and SSH, and how to verify that the extension is correctly set up.
By the end of this guide, you will have the capability to seamlessly connect your Magento store to Channable, enabling automated product synchronization, real-time inventory updates, and efficient order management, ensuring accurate data flow between both platforms and improving overall marketplace performance.
Preparation Installing Extension via FTP
If possible, we advise installing the module via Composer, as this is the most efficient and reliable method. Composer makes updates significantly easier to manage and ensures your store always uses the correct, versioned dependencies.
Before making changes to your store, please ensure the following:
- Ensure you have a full backup (files + database).
- Run the installation in a development or staging environment first.
- (Production only) Enable maintenance mode to prevent visitors from seeing errors:
php bin/magento maintenance:enable
Upload Extension Files
Download the Channable extension package (.zip) file from your Magmodules dashboard under "My Downloads" and follow the installation steps outlined below.
The ZIP file contains the necessary files that must be placed inside the Magmodules/Channable folder. Note: The directory structure is case-sensitive and must be created manually. Follow the steps below to extract and upload the files correctly.
1. Extract the Extension Files
Unzip the extension package using a tool like WinZip, WinRAR, or a similar extraction program.
2. Upload the Unzipped Extension Files
Since the extracted files contain only the extension content, you must manually create the Magmodules/Channable folder inside app/code/ on your server and place all extracted files into this final Magmodules/Channable folder.
The final directory path for the uploaded content will be:
app/code/Magmodules/Channable
If you are updating an existing installation of one of our extensions, ensure that you overwrite the existing extension files.
Run Setup Commands in the Terminal
Open the terminal and run the following command, then enter the user password. (Skip this step if you're installing the expansion on a local machine):
ssh username@domain.com
Locate The Root
Navigate to the Magento 2 web root directory by executing this command:
cd /full_path_to_magento2
Examples of typical Magento roots:
/var/www/html/home/username/public_html/var/www/magento2
Start Setup
Once the extension has been successfully downloaded, initiate the setup of the Channable extension using the following commands:
php bin/magento module:enable Magmodules_Channable
php bin/magento setup:upgrade
This registers the module and processes database changes.
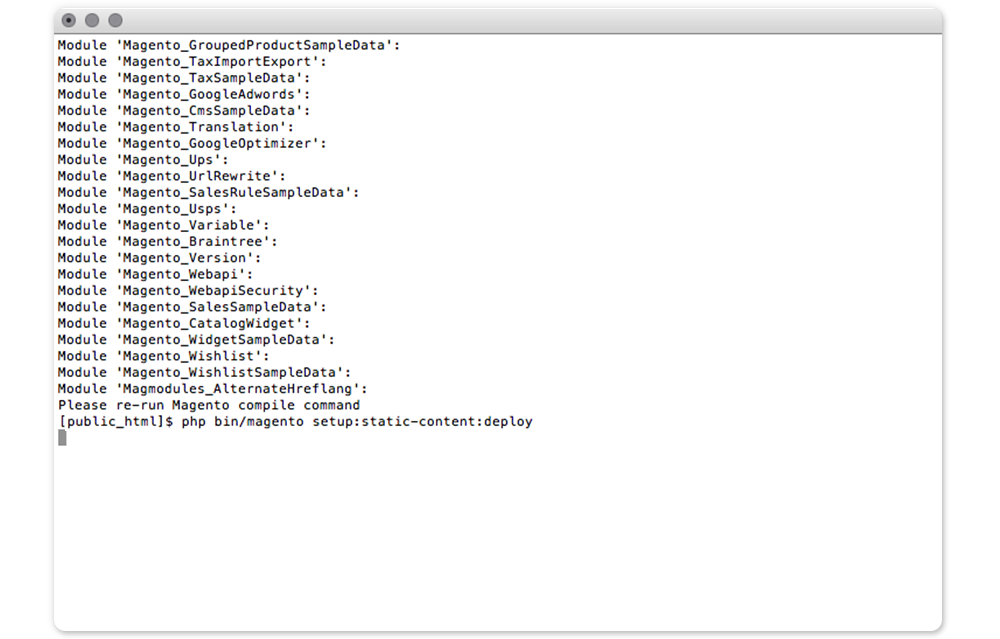
If Magento is in production mode, you’ll need to recompile and deploy static content by running:
php bin/magento setup:di:compile
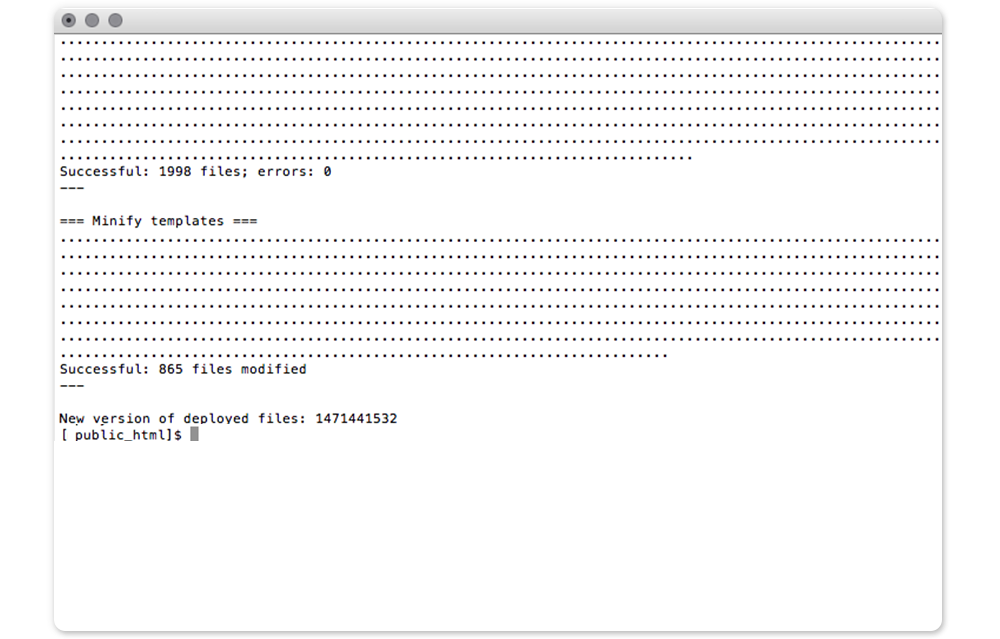
php bin/magento setup:static-content:deploy -f
After executing these commands, the extension is installed and ready for configuration. To configure it, go to Stores > Configuration > Magmodules > Channable.
If you have used the maintenance mode, make sure to disable this; otherwise, Magento frontend returns a 503 Service Temporarily Unavailable error:
php bin/magento maintenance:disable
Start Using the Extension
Once the installation is complete, the extension is successfully installed in your Magento® 2 store and ready to use.
Navigate to Stores > Configuration > Magmodules > Channable to configure and start using the extension.
Troubleshooting FTP/SSH installation
Module files not visible after upload
Cause: Incorrect folder structure or wrong upload location.
Solution:
- Verify that the files have been uploaded to the correct directory.
- Check that the folder structure is correct (use
ls -la app/code/Magmodules/to verify). - Ensure that the
registration.phpandmodule.xmlfiles are present in the module directory.
Permission Denied errors
Cause: Incorrect file permissions after FTP upload.
Solution:
Set the correct owner and permissions:
chown -R www-data:www-data app/code/Magmodules/
find app/code/Magmodules/ -type f -exec chmod 644 {} \;
find app/code/Magmodules/ -type d -exec chmod 755 {} \;
Replace www-data with the user your web server runs as (could also be apache, nginx, or another user).
SSH connection failed
Cause: Incorrect credentials, blocked port, or SSH not enabled.
Solution:
- Check your username and domain name.
- Try the default SSH port (22) or a custom port:
ssh -p 2222 username@domain.com
- Contact your hosting provider to verify that SSH access is enabled.
503 Service Temporarily Unavailable after installation
Cause: Maintenance mode still active.
Solution:
Disable maintenance mode:
php bin/magento maintenance:disable
Or manually remove the maintenance file:
rm var/.maintenance.flag
Memory Limit errors during compilation
Cause: PHP memory limit set too low.
Solution:
Temporarily increase memory limit:
php -d memory_limit=2G bin/magento setup:di:compile
Or permanently update php.ini:
memory_limit = 2G
Still having issues?
If you continue to experience problems:
- Check the Magento error logs:
var/log/system.logandvar/log/exception.log. - Verify that all prerequisites are met (PHP version, required extensions, file permissions).
- Check that all module files have been uploaded correctly (compare with the original zip file).
- Contact Magmodules Support and provide:
- Your Magento version
- PHP version
- Installation method (FTP/SSH)
- Complete error messages
- Steps you've already tried


