How to install the Google Reviews extension through FTP and SSH
To begin the installation, download the Google Business Reviews extension package (.zip) file from your Magmodules or Marketplace dashboard under "My Downloads" and follow the installation steps outlined below.
Note: We strongly recommend testing the installation in a development environment before deploying it to production. Additionally, ensure you have a full backup of your store. For more details on creating a backup, refer to this guide.


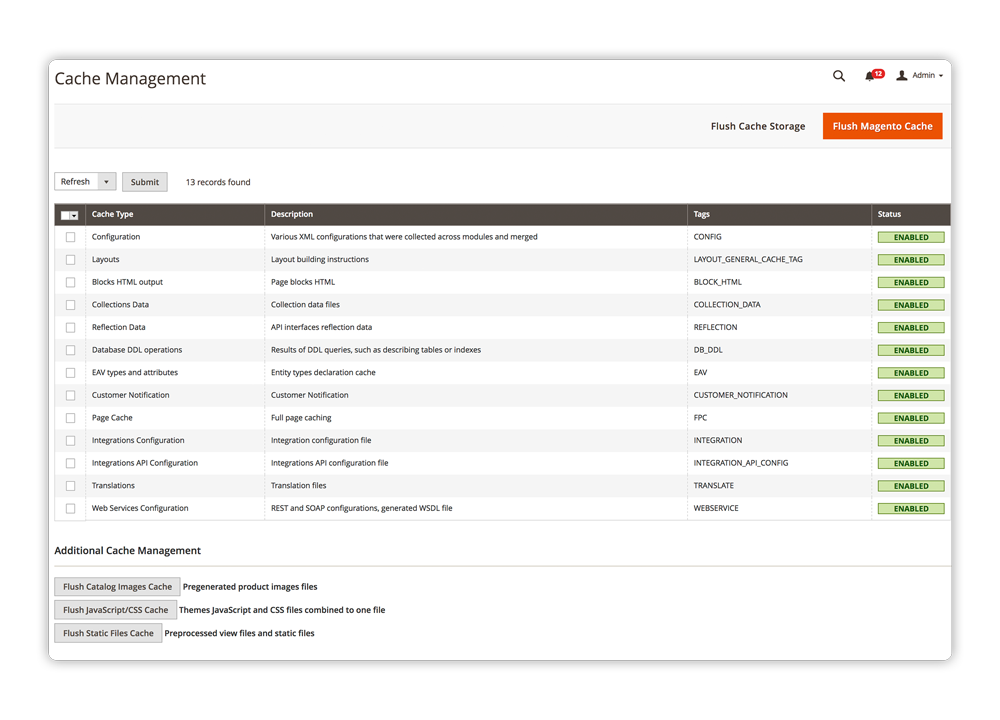
Enable the Magento Cache using the located in System > Cache Management.


The ZIP file contains the necessary files that must be placed inside the Magmodules/GoogleReviewsSR folder. Note: The directory structure is case-sensitive and must be created manually.
Follow the steps below to extract and upload the files correctly.
2 A. Extract the Extension Files
Unzip the extension package using a tool like WinZip, WinRAR, or a similar extraction program.
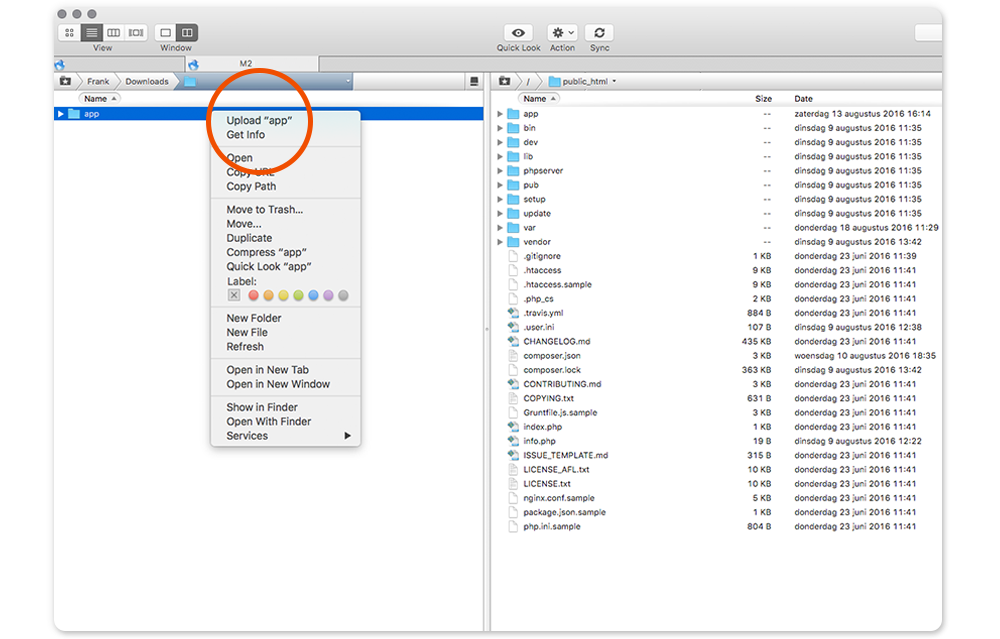
2 B. Upload the Unzipped Extension Files
Since the extracted files contain only the extension content, you must manually create the Magmodules/GoogleReviewsSR folder inside app/code/ on your server and place all extracted files into this final Magmodules/GoogleReviewsSR folder.
The final directory path for the uploaded content will be:
app/code/Magmodules/GoogleReviewsSR
If you are updating an existing installation of one of our extensions, ensure that you overwrite the existing extension files.


3 A. Connect
Open the terminal and run the following command, then enter the user password. (Skip this step if you're installing the expansion on a local machine):
ssh username@domain.com
3 B. Locate The Root
Navigate to the Magento 2 web root directory by executing this command:
cd /full_path_to_magento2
3 C. Start Setup
Once the extension has been successfully downloaded, initiate the setup of the Google Business Reviews extension using the following commands:
php bin/magento module:enable
php bin/magento setup:upgrade
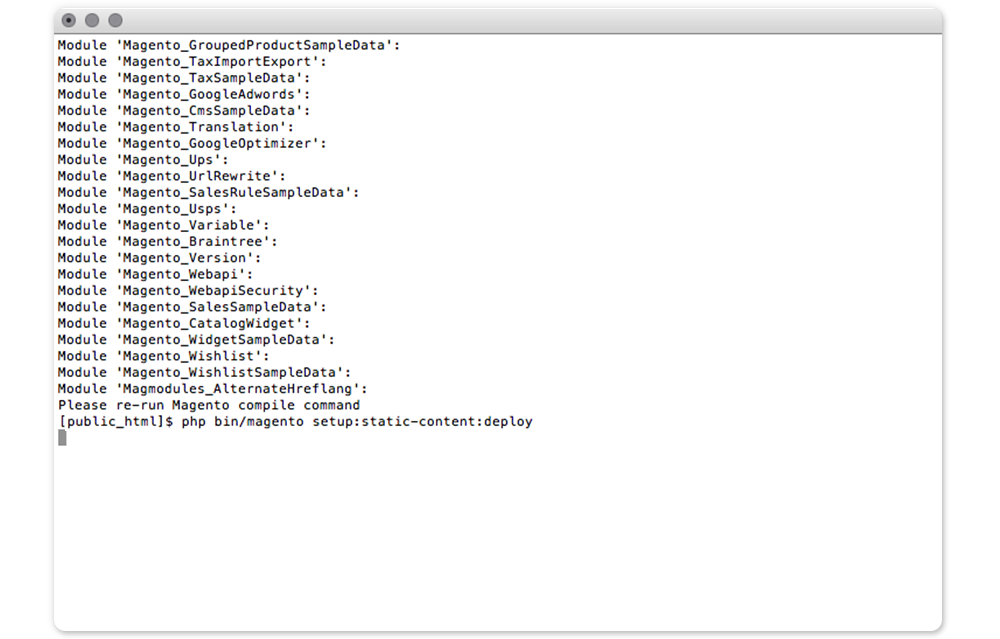
If Magento is in production mode, you’ll need to recompile and deploy static content by running:
php bin/magento setup:di:compile
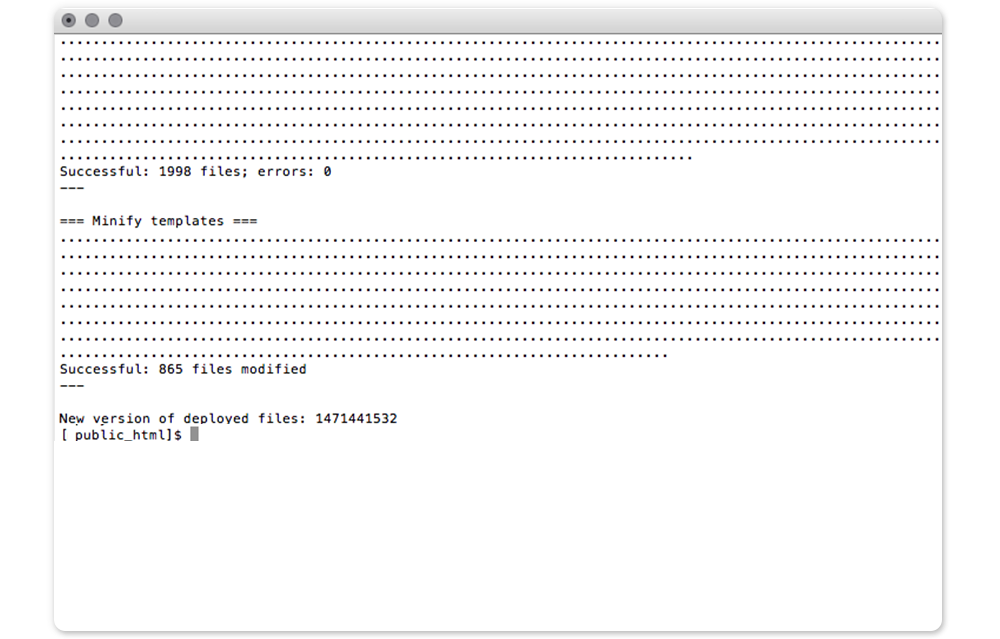
php bin/magento setup:static-content:deploy
After executing these commands, the extension is installed and ready for configuration. To configure it, go to Stores ⇨ Configuration ⇨ Magmodules ⇨ Google Business Reviews.
Maintenance Mode
For production websites, it’s recommended to enable maintenance mode during installation or updates. Use the following commands before and after running the setup:
php bin/magento maintenance:enable
# Run setup commands
php bin/magento maintenance:disable


Once the installation is complete, the extension is successfully installed in your Magento® 2 store and ready to use.
Navigate to Stores > Configuration > Magmodules > Google Business Reviews to configure and start using the extension.
