How to install the MessageBird extension using Composer


Besides installing Magento 2 extensions via SSH manually or through the Marketplace Wizard, installing via composer is another very popular and even the most simple and safe to install an extension.
In this article, we will provide you with a step-by-step instruction about how to do to get a Magento 2 extension installed on the website by Composer. Note that this guide is only for extensions that are bought directly in our store.
Get the Details
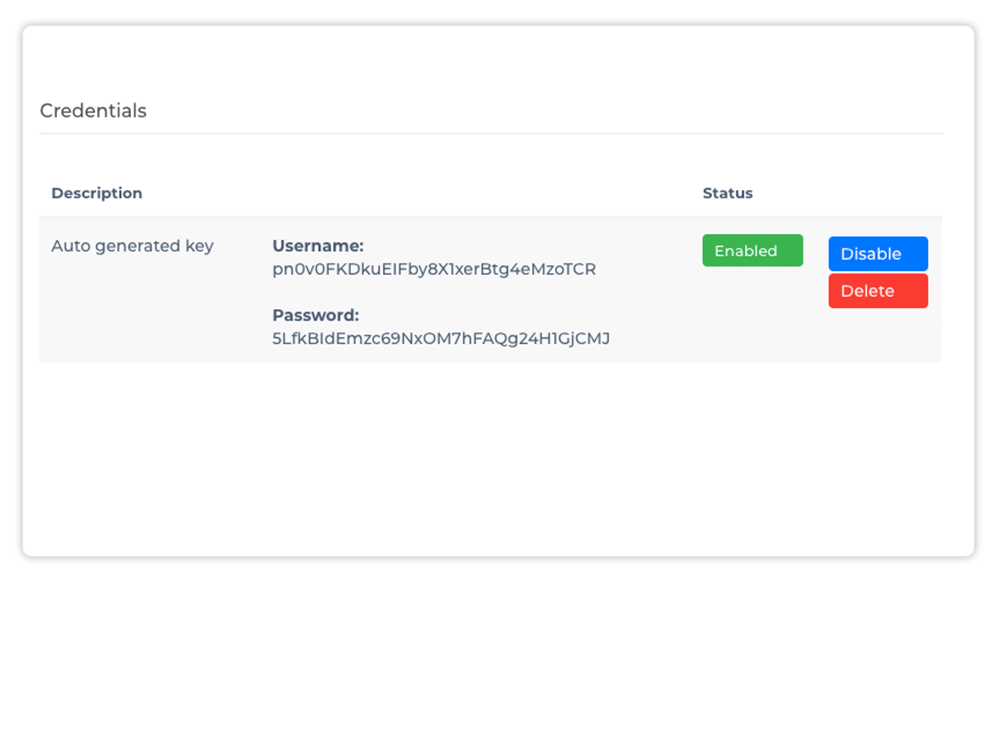
Login to your account to get your Composer Authentication Keys and Credentials which are automatically generated after purchasing one of our extensions.
You can also create new Composer keys with a description in case you want to change environments and keys.
Backup (optional but recommended)
We strongly recommend testing your installation in a development environment prior to releasing it to production. Also, make sure you have a full backup available of your store in case you need to make a rollback, more information about creating backup and the roll back can be found here.


The next step is to add the packages.magmodules.eu repository to your Composer file.
Add repository by SSH
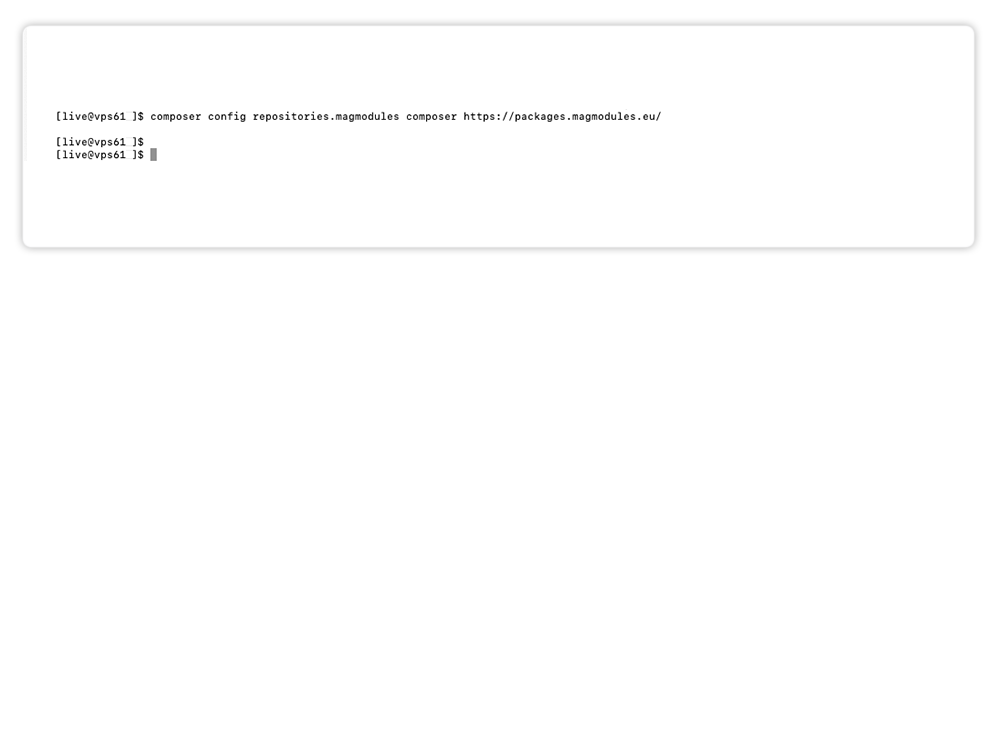
Through an SSH connection, all you have to do is run the following command from your Magento installation directory. In this way, you can connect with our private repository.
composer config repositories.magmodules composer https://packages.magmodules.eu/
After executing this account, a blank line appears and the repositories are successfully added to your Composer.JSON file.
If you want to add the Composer repository manually, please see your account for the exact commands.


Once the repository is added to the composer.json file, you can now install the packages that are available through it. If preferred, enable the maintenance mode, see last part of this section.
Download extension
To download the extension to your store, execute the following command:
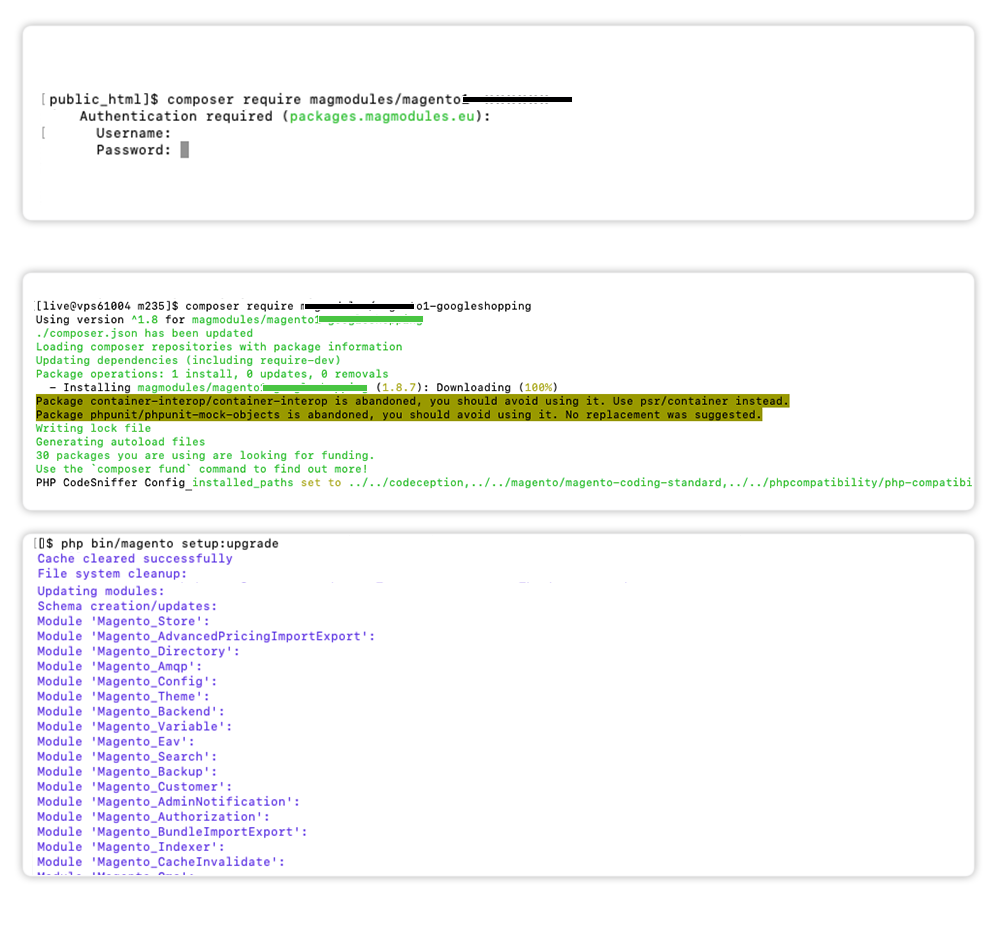
composer require magmodules/magento2-messagebird
After executing this command the first time, the username and password of the Composer Auth Keys will be asked and can be obtained here.
Install extension
After that the extension is successfully downloaded, start the setup of the MessageBird extension by running this commands:
php bin/magento module:enable Magmodules_Magmodules/MessageBird
php bin/magento setup:upgrade
If Magento is running in production mode, recompile and deploy static content using the following commands:
php bin/magento setup:di:compile
php bin/magento setup:static-content:deploy
Now you've succesfully excecuted the right commands and the extension is successfully installed, it's ready for configuration. Navigate to Stores ⇨ Configuration ⇨ Magmodules ⇨ MessageBird to start the configuration.
Maintenance modeYou may want to enable the maintenance mode when installing or updating the module, especially when working on a production website. To do so, run the two commands below before and after running the other setup commands:
php bin/magento maintenance:enable
# Other setup commands
php bin/magento maintenance:disable


It's also possible to easily remove, update and update to a specific version using the following commands:
To update the extension to the latest version, use the command:
composer update magmodules/magento2-messagebird
If you want to update another version, not the latest version of the extension use the command:
composer require magmodules/magento2-messagebird: version
To remove the extension, use the command:
composer remove magmodules/magento2-messagebird
